Warm, Nutty Comfort: Mastering Oatmeal Cookies with Walnuts
There is something elemental about a warm cookie that carries the scent of toasted oats and walnuts through the kitchen, promising comfort with every bite. In this article I’ll walk you through everything you need to know to make consistently excellent oatmeal cookies with walnuts — from choosing the right oats to shaping and storing the finished batch. You’ll find practical tips, a dependable recipe, variations to suit different moods and diets, and a few stories from my own kitchen experiments. Read on if you want cookies that balance chew and crunch, that keep well, and that feel homemade without too much fuss. Let’s make baking feel like less of a chore and more of a small celebration, one tray at a time.
Why oats and walnuts belong in your cookie jar
Oats bring more than fiber; they add a texture backbone that can make a cookie chewy, tender, or pleasantly crumbly depending on how you treat them. Rolled oats retain structure and become pleasantly toothsome when baked, while quick oats soften more and give a finer crumb. Walnuts complement oats not only with their crunch but with a bitter-sweet, buttery flavor that offsets sugar and butter in the batter. Together they create a cookie that feels wholesome without tasting like a health-food attempt, which is why these two ingredients are a classic duo in home baking. Understanding how each component behaves helps you nudge the final cookie toward the texture and flavor you want.
Beyond taste and texture, those ingredients are forgiving. Oats are tolerant of small changes in moisture and fat, and chopped walnuts tolerate a range of toasting levels, from lightly warm to deeply fragrant, allowing you to experiment. They adapt well to additions such as chocolate, dried fruit, or spices, so the base recipe becomes a playground for flavor. For bakers who like routine but dislike boredom, a base oatmeal and walnut cookie recipe is a reliable starting point. Knowing why these ingredients work together gives you confidence to tweak without wrecking the dough.
Ingredients: building blocks for the best oatmeal and walnut cookies
Choosing the right ingredients matters more than you might expect: small changes can shift chewiness, spread, and flavor in noticeable ways. Use unsalted butter if you want control over the salt level, or a combination of butter and oil for a different mouthfeel. Brown sugar contributes moisture and a slight caramel flavor that pairs especially well with oats and nuts, while white sugar promotes crispness. Don’t overlook the role of eggs and flour in structure; they determine whether your cookies hold together or crumble. Finally, the difference between chopped and ground walnuts is not only texture — it affects how walnut flavor is distributed through each bite.
- All-purpose flour
- Rolled oats (old-fashioned) or quick oats for softer texture
- Unsalted butter (or part butter, part neutral oil)
- Granulated sugar and brown sugar
- Eggs
- Baking soda and a pinch of salt
- Vanilla extract
- Chopped walnuts, toasted if desired
- Optional: chocolate chips, raisins, cinnamon
This list keeps things flexible: if you prefer a chewier cookie, opt for more brown sugar and one extra tablespoon of butter, and use rolled oats. If you want a crisper edge, increase white sugar slightly and flatten the dough before baking. When it comes to walnuts, I usually toast them briefly in a 350°F oven or a dry skillet; toasting amplifies their aroma and helps them hold up during baking. Small adjustments yield big textural differences, so consider the final shape and mouthfeel you want before you mix.
Equipment and preparation that save time and frustration
You don’t need a long list of gadgets to bake great cookies, but a few tools make the process cleaner and more reliable. A sturdy mixing bowl, a flat whisk or wooden spoon for the dry ingredients, and a paddle attachment or hand mixer for creaming butter will speed things up. A baking sheet lined with parchment paper prevents sticking and promotes even browning, and a cooling rack keeps bottoms from steaming and going soft. A small scoop or spoon for portioning ensures even sizes so each cookie bakes the same amount of time. Finally, an oven thermometer is an inexpensive helper; ovens often run hot or cold, and that variance changes cookie results more than you think.
Prep work is underrated. Measure ingredients carefully and have mix-ins chopped and ready before you start. If you toast the walnuts, cool them completely so they don’t melt butter or alter batter temperature. Bring butter to room temperature, not melted, for easier creaming; if it’s too soft, you can chill the dough briefly before baking to control spread. Little habits like wiping the baking sheet between batches and rotating pans halfway through the bake will keep your cookies uniform. These steps add minutes up front but prevent annoyance later.
Step-by-step recipe: how to mix, shape, and bake for predictable results
Below I describe a reliable method that produces cookies with a tender center and slightly crisp edges. The order you add ingredients matters because it builds structure in stages: creaming butter and sugar incorporates air, eggs bind and emulsion forms, then dry ingredients add structure, and finally oats and walnuts give body. Skipping or rearranging those steps can alter texture. Stay attentive to visual and tactile cues — the dough’s look and feel often tell you more than the clock. Follow the recipe as a framework and adjust based on what you observe during mixing.
- Cream room-temperature butter with sugars until light and slightly fluffy; this usually takes 2–4 minutes with a mixer.
- Add eggs one at a time and beat until incorporated, then stir in vanilla extract.
- Sift or whisk together flour, baking soda, salt, and any spices; add to wet mixture in two additions to avoid overmixing.
- Fold in oats and chopped walnuts by hand so they distribute without releasing excess oil from the nuts.
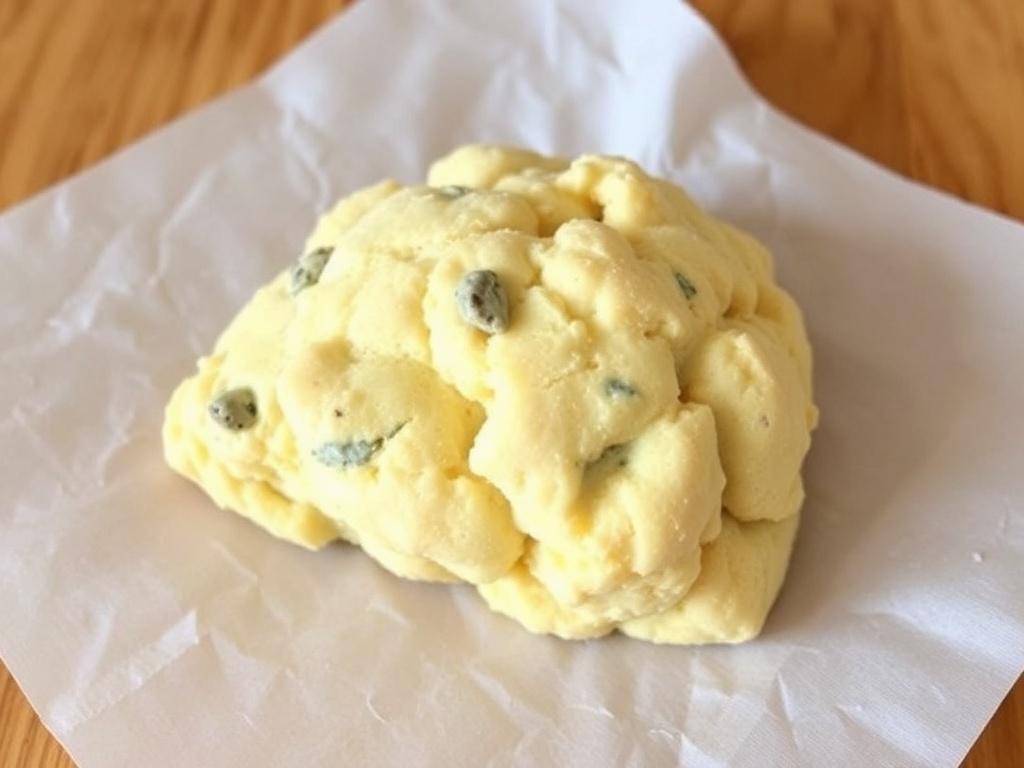
- Portion dough on a lined baking sheet, gently compact and slightly flatten for even baking; chill the sheet briefly if the dough seems too soft.
- Bake at a moderate temperature until edges are golden and centers look set but not dry, then cool on a rack.
Timing is approximate because ovens vary; start checking for doneness a minute or two before the recipe suggests. Cookies continue to firm up as they cool, so slightly underbaked centers can yield a pleasing chew rather than a doughy mess. Use a timer, but trust your eyes and a gentle press test: the cookie should spring back slightly and hold shape. If you want perfectly uniform cookies, weigh the dough portions — 30 to 36 grams per cookie makes a satisfying medium size.
A reliable recipe with quantities
Here is a straightforward recipe that has worked well in my kitchen for gatherings and weekday treats alike. It balances sweetness and texture and is easy to scale up for larger batches. The yields assume medium-sized cookies; adjust portion size if you prefer drop cookies or larger bakery-style rounds. Use this as your baseline, then refer to the techniques and variations in the rest of the article to tweak texture and flavor.
| Ingredient | Amount |
|---|---|
| All-purpose flour | 1 1/4 cups (150 g) |
| Rolled oats | 1 3/4 cups (160 g) |
| Unsalted butter, room temperature | 1/2 cup (113 g) |
| Brown sugar, packed | 3/4 cup (150 g) |
| Granulated sugar | 1/4 cup (50 g) |
| Large egg | 1 |
| Vanilla extract | 1 tsp |
| Baking soda | 1/2 tsp |
| Salt | 1/4 tsp |
| Chopped walnuts, toasted | 1 cup (100 g) |
Bake on a preheated 350°F (175°C) oven for 10–12 minutes, rotating the pan halfway through. Larger cookies may need 12–15 minutes; smaller 9–11. Remove the tray when edges are golden but centers still look slightly glossy; cool for five minutes on the sheet to set, then transfer to a rack to finish cooling. This timing creates cookies that retain chew and keep their shape without becoming hard. If your oven runs hot, reduce the temperature by 15–20°F and keep an eye on the first batch.
Techniques to get texture right: chewy, cakey, or crisp
Texture control mostly comes down to sugar ratios, fat state, and baking time. More brown sugar and less white sugar produce chewier cookies because brown sugar contains molasses and holds moisture. If you want a cakier cookie, increase flour slightly and add an extra egg yolk for structure. For crisp edges, flatten cookie mounds before baking, use more white sugar, and bake a little longer at a slightly lower temperature. Remember that thicker cookies will always be chewier in the middle simply because of geometry and heat transfer.
Oat type plays a major role too. Rolled oats yield distinct, toothsome bits in the cookie; quick oats absorb more moisture and create a finer crumb. For a tender interior with visible oat texture, use rolled oats and a little extra butter. Toasting the walnuts tightens their structure and reduces the chance they’ll go soft in storage. If you want uniformity in a professional-looking cookie, pulse walnuts briefly to ensure even chop and distribute them with a gentle fold to keep the dough from turning oily.
Flavors and variations: swaps that work
One of the charms of this cookie base is how well it accepts additions. Chocolate chips are an obvious and beloved choice; dark chocolate balances the sweet dough and highlights walnut bitterness. Dried fruit like cherries or cranberries introduce a chewy, tart contrast that pairs beautifully with the oats. If you enjoy spice, a teaspoon of cinnamon or a pinch of cardamom adds warmth without overpowering. For a savory twist, try a light sprinkle of flaky sea salt on top just as the cookies come out of the oven.
- Chocolate chip and walnut: classic, slightly bittersweet
- Dried fruit and orange zest: bright, slightly tart
- Maple and pecan: swap walnuts for pecans and use maple syrup in place of part of the sugar
- Gluten-free: use certified gluten-free oats and a 1-to-1 gluten-free flour blend
- Vegan: replace butter with coconut oil or vegan butter and use flax egg (1 tbsp ground flax + 3 tbsp water)
Small changes to liquids and fat alter bake time and texture, so when you swap ingredients, adjust accordingly. Adding a liquid sweetener such as honey or maple syrup increases moisture and can reduce spread; reduce other liquids slightly. When substituting nuts, consider flavor intensity — pecans and hazelnuts are milder than walnuts, while almonds bring a cleaner, slightly sweeter note. Try a few small test cookies before committing to a full batch when making substantial ingredient swaps.
Troubleshooting common problems
Cookies spread too much: check your butter temperature. If it’s too soft or melted, chill the dough for 20–30 minutes before baking. Also, too little flour or overmixing liquid can contribute to excess spread, so measure and mix gently. Cookies harden after cooling: they were likely overbaked; try shaving off a minute or two from your bake time, or reduce oven temperature slightly. Underbaked interior that remains raw even after cooling often means the cookie was too large or oven temperature too low.
Oats taste raw or grainy: use a mix of rolled and quick oats for creamier texture or reduce oat quantity slightly. If nuts become bitter, they were probably over-toasted; toast only until fragrant, not dark. If your cookies crumble apart when handled, make sure the binding ingredients — egg and fats — were measured correctly and that the flour quantity is sufficient for the number of mix-ins. Accurate measuring and attention to dough consistency go a long way to preventing these issues.
Storing, freezing, and reheating for freshness
Cookies store well when you control moisture exposure. For short-term storage, keep baked cookies in an airtight container at room temperature for up to five days, with a slice of bread or a few apple slices to maintain moisture if you prefer softer cookies. For longer storage, freeze baked cookies in a single layer on a tray, then transfer to a freezer bag; they keep well for up to three months. To warm frozen cookies, thaw at room temperature and heat in a 300°F oven for five to seven minutes to refresh crisp edges and release aroma.
You can also freeze raw dough. Scoop the dough onto a tray, freeze until firm, then bag the scoops for later baking. This method allows you to bake fresh cookies on demand and yields slightly better texture than reheating a fully baked cookie. When baking from frozen, add about two minutes to the bake time and watch closely for a golden edge. Batch-freezing dough is a game changer for unexpected guests or busy mornings when a homemade treat feels luxurious but time is short.
Nutrition notes and sensible swaps
These cookies are an indulgence but there are ways to make them feel lighter without losing character. Reducing sugar by 10–20% is often imperceptible to most palates and keeps moisture fairly similar. Swapping half the butter for unsweetened applesauce can reduce fat while helping maintain chew; expect a slightly denser texture. Using whole grain or oat flour increases fiber and nuttiness but changes structure, so blend carefully with all-purpose flour to keep the cookie tender. Be mindful that nuts are calorie-dense; the volume you add affects nutrient density more than the base dough.
For allergy-friendly or dietary needs, many simple swaps work: gluten-free flours with xanthan gum for binding, dairy-free butter substitutes, and flax or chia eggs for vegans. Each swap changes moisture and structure, so test a small batch first. If tracking calories or macros, a medium cookie from the recipe above typically ranges in the 150–200 calorie window depending on size and mix-ins; adding chocolate or extra nuts increases that number. Use portion control or share the batch if you want to enjoy them regularly without overdoing it.
Serving suggestions and pairings
These cookies are versatile: they work as a breakfast accompaniment with thick yogurt, as a midday pick-me-up with tea, or as an after-dinner treat alongside coffee. For a simple dessert, sandwich two cookies with a spoonful of mascarpone or vanilla cream cheese and chill briefly. For a more celebratory presentation, warm the cookies and serve with a scoop of vanilla ice cream and a drizzle of maple or salted caramel. They also travel well in lunches or picnic baskets, where the walnuts add welcome crunch.
Scaling up and planning for batches
Making batches for a crowd is largely about logistics. Double or triple the recipe, but mix in stages if your bowl or mixer is small to ensure even incorporation. Bake on multiple sheets, rotating and swapping positions to account for hot spots in the oven. If you need a uniform look for gifting or a bake sale, chill shaped dough logs and slice before baking for consistently round cookies. Keep a sheet pan warm in the oven at the lowest setting for short-term hold if you need to present cookies warm to several people at once.
Label and date any frozen dough or baked cookies, and keep a note of any variations you liked. When baking a lot, consider a small kitchen scale and portioning scoops to reduce fatigue and maintain uniformity. I find that making multiple trays and storing them on cooling racks as I bake gives me a steady assembly-line rhythm, and it’s easier to keep quality consistent than trying to manage one colossal tray in a too-small oven. Small planning steps save time and improve outcomes when volume increases.
My kitchen experiments and what I learned
I learned early on that the best cookies came from small, deliberate experiments rather than wild improvisation. One memorable experiment was swapping half the butter for browned butter to deepen flavor; the result tasted richer and nutty in a way that highlighted the walnuts. Another trial involved adding citrus zest to dried cherry mix-ins; the bright fruit cut through the oat richness and felt surprisingly grown-up. I always test a few cookies at home before bringing a new version to friends — feedback in the moment is the fastest way to refine a recipe.
Baking for family gatherings taught me to favor sturdier cookies that travel well, which led to slightly flatter, crisp-edged versions that still tasted tender inside. I’ve also learned not to chase every trend; some combos look clever on paper but disrupt the oat-walnut balance. My advice is to keep the base intact and introduce one variable at a time — a new spice, a different sweetener, or an unusual mix-in — so you can judge what really works. That approach turns experimentation into a series of small wins rather than guesswork.
Final practical tips and an invitation to play
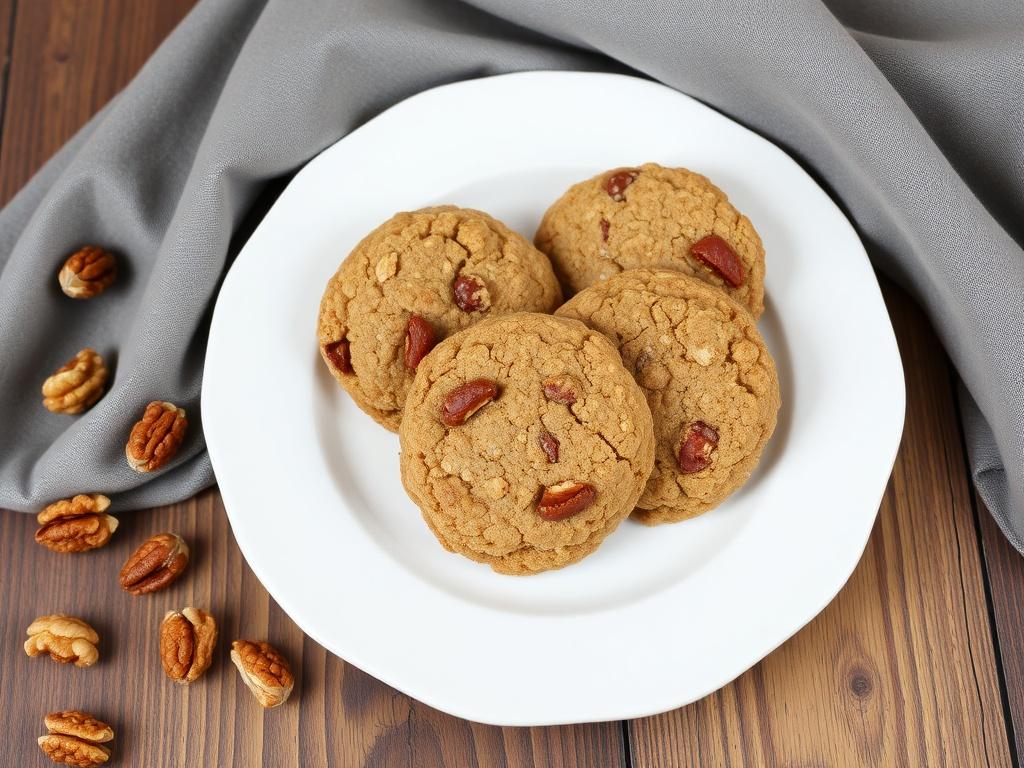
Start with the basic recipe, then make one small change at a time. Keep notes on what you alter so you can repeat successes and avoid repeating mistakes. Taste the dough if you’re comfortable doing so and safe — raw eggs aside — to judge salt and sweetness before baking. Use fresh walnuts and store them in the refrigerator if you don’t plan to use them quickly, as their oils can turn rancid at room temperature. Most importantly, allow yourself the pleasure of imperfect cookies; they are meant to be enjoyed, not judged.
If you try the recipe or one of the variations, write down what you did and what you liked. Share a batch with someone and notice which mix-ins vanish first — that’s honest feedback. Baking is a practical craft and a creative outlet at once, and cookies like these reward both experimentation and care. Go on, preheat the oven and start with a small tray; you’ll be surprised how quickly the aroma alone can lift a day.
